Bonjour lecteurs! Retrofitting a pocket door into an existing wall is a bigger job than simply swapping one hinged door for another. You need to check the wall for pipework, cables, and structural elements to avoid an expensive surprise partway through the work. Suppliers such as Direct Doors offer pocket door kits designed to make this retrofit as straightforward as possible. See how you can transform your space now.
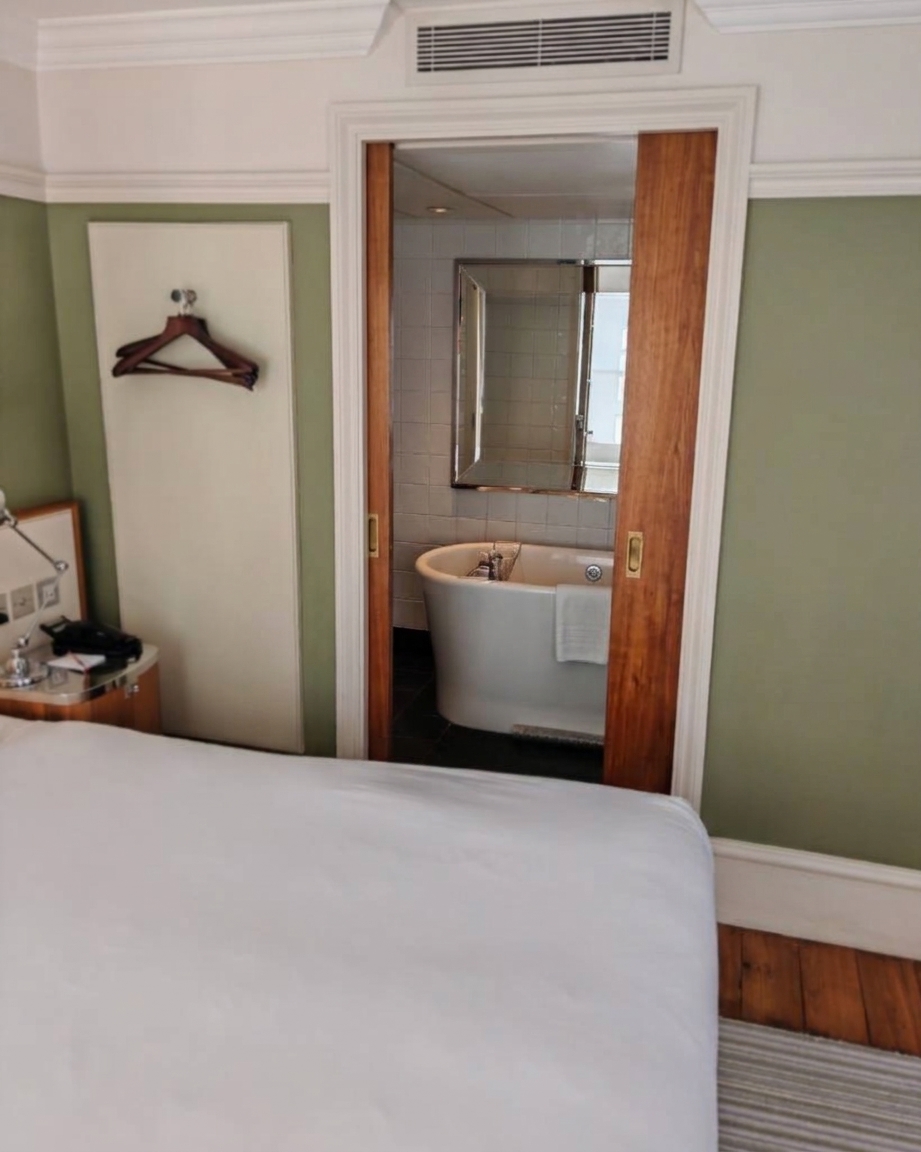
What Is Actually Inside the Wall
A stud wall can hide electrical cables, water pipes, or even a section of ductwork running exactly where the pocket cavity needs to go.
Do a full cable inspection with a builder to help confirm what is hidden before any cutting starts. Older homes sometimes have services rerouted in unexpected places after previous renovations. So you don’t really know what is inside the wall.
If you skip this step, it might be expensive to repair partway through what should be a straightforward installation.
Confirm the Wall Can Take a Cavity
Not every wall suits a pocket door. A load-bearing wall généralement cannot have a cavity cut into it without significant additional structural work.
Stud partition walls are parfaits, provided there is enough depth and length available for the full pocket to sit inside.
Measure the wall thickness and the clear run needed for the door to slide fully open before ordering a kit. A builder or joiner can confirm suitability quickly.
Choose a Kit That Matches the Door Size
Pocket door kits are sold to match specific door dimensions. Measure the intended opening accurately before ordering.
You want to avoid a mismatch that could delay the whole project. A wrongly sized kit won’t accommodate the door properly. Even an oversized kit can waste materials and cause extra complications
Double-check measurements against the actual door, not the opening alone.
Planning for Hardware & Soft Close Mechanisms
A pocket door needs a track, rollers, and often a soft-close mechanism fitted before the door disappears into the wall cavity.
Each of these needs to be accessible for future maintenance.
If you choose a kit with a removable access panel, you can repair a sticking roller or worn track without opening up the plasterboard again.
This détail is easy to overlook during the initial planning stage, but c’est important the first time something needs adjusting. Asking specifically about maintenance access before choosing a kit avoids frustration later on.
Managing Plaster & Finish Around the Cavity
Once the cavity is built and the door is installed, finish the surrounding wall so the join between new and existing plasterboard.
Match the existing wall thickness and texture with caution, especially in an older property where the original plaster may differ slightly from modern boards.
Allow time for plaster to dry properly before decorating helps. It prevents cracking later. You should include that part of the process in your budget.
Getting the Retrofit Right the First Time
Retrofitting a door in an existing wall takes many steps to get it right. First, check what is in the wall and see if it can support a cavity.
You also need to choose the right-size kit with future maintenance access in mind. Choose the right kit for your property.
To avoid any bad surprises, I would ask a qualified builder to look at it at the planning stage
A little extra preparation at this stage almost always pays for itself once the door is finally in place and working as intended.
But this retro design is so cool and can help you maximise space.
What other home projects do you have this year?
Collaboration